Search

Showing posts with label Create. Show all posts

Let It Snow


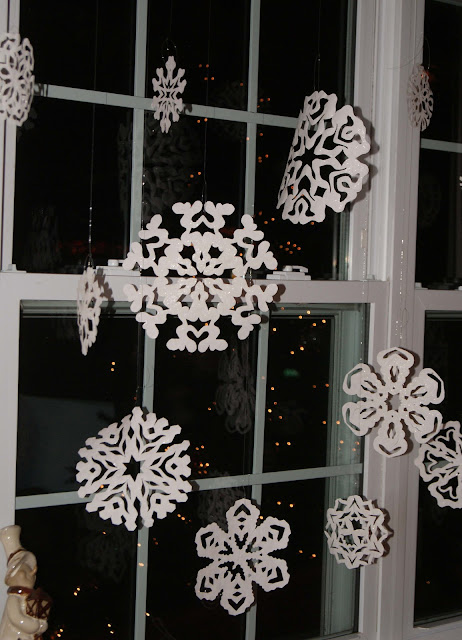
This is the window in the living room after we hung the snowflakes on 
Christmas Eve. We are really happy with how it turned out, plus it was so cute when Lola 
discovered the "snow." See the tutorial on how to make snowflakes here.


We hung the flakes with fishing line by threading it loosely through 
the openings in the flakes, and then tied the line around the curtain rod.


Snowflake Tutorial


I mentioned in an earlier post that we are creating our own white Christmas
this year, and that is no joke. Jeff and I (mostly Jeff because he is amazing) made dozens
of paper snowflakes in a variety of sizes, dusted them with fine glitter (fairy dust I think 
it was called), and will hang them in the windows with fishing line on Christmas Eve
to make it look like it's snowing when Lola wakes up on Christmas Day.
Pictures of the windows here.

Below I have demonstrated how to fold the paper, and cut the snowflakes.

 Start with a square.

Fold in half to make a triangle.

Fold in half again to make smaller triangle.

From the pointed side, fold into thirds.
 This is the hardest part.

After both sides are folded this is what it will look like.

 If you were to open up the last two folds, 
this is where the creases are.

 Cut off the bits that hang over.

 You will be left with a triangle.

Now for the fun and creative part, cut your design.
Cut away more paper than you think that you should, the negative space
is what gives snowflakes their delicate lace-like design
making sure that you leave
bits of the edges so that it holds together.

See how I cut most of the paper away?


Unfold, and be amazed by your genius!

For those of you who are nervous about jumping right in and free-handing
your own flakes, I posted a few of the flakes that we made below so that you can get an idea of what to cut away to get different the patterns.

.


Tips to remember when making your own flakes:
Snowflakes are all different, so don't worry about making them the same. Besides I think
a grouping looks best when there is a variety of sizes, shapes, and styles.
Use very sharp small scissors.


Pine Cone Elf


I was so excited when I came across these sweet little pine cone elves from this shop.
The seller sells them in sets of three, but  is unfortunately (for us)
on vacation from her shop at the moment.


While I absolutely support buying from crafters and their shops, and encourage you
to do the same... They look simple enough to make yourself (since she is away), and could
be a fantastic follow up (or alternative) to the elf craft in this post from the other day.


Kiddos will have so much fun gathering all the pine cones!!
Which is ALWAYS a fun outdoor activity!


Oh my gosh, how many different ways could we use these little guys??
Ornaments (which is how she suggests)
Attach to gifts as fun little adornments
Wine glass identifiers
In a Christmas village as an alternative to traditional snowmen
Presents for children's friends, or teacher
Attach to a Christmas card as a thoughtful personal touch
Place markers at the Christmas dinner table
Kids can attach them to string, and have a pine cone elf marionette show

I could go on all day!


All the images in this post are from the original shop.

30 Minute Wreath

Pin It


Looking for a super easy and totally inexpensive way to dress up
a rather bland bit of wall space with some holiday cheer?  This entirely mess
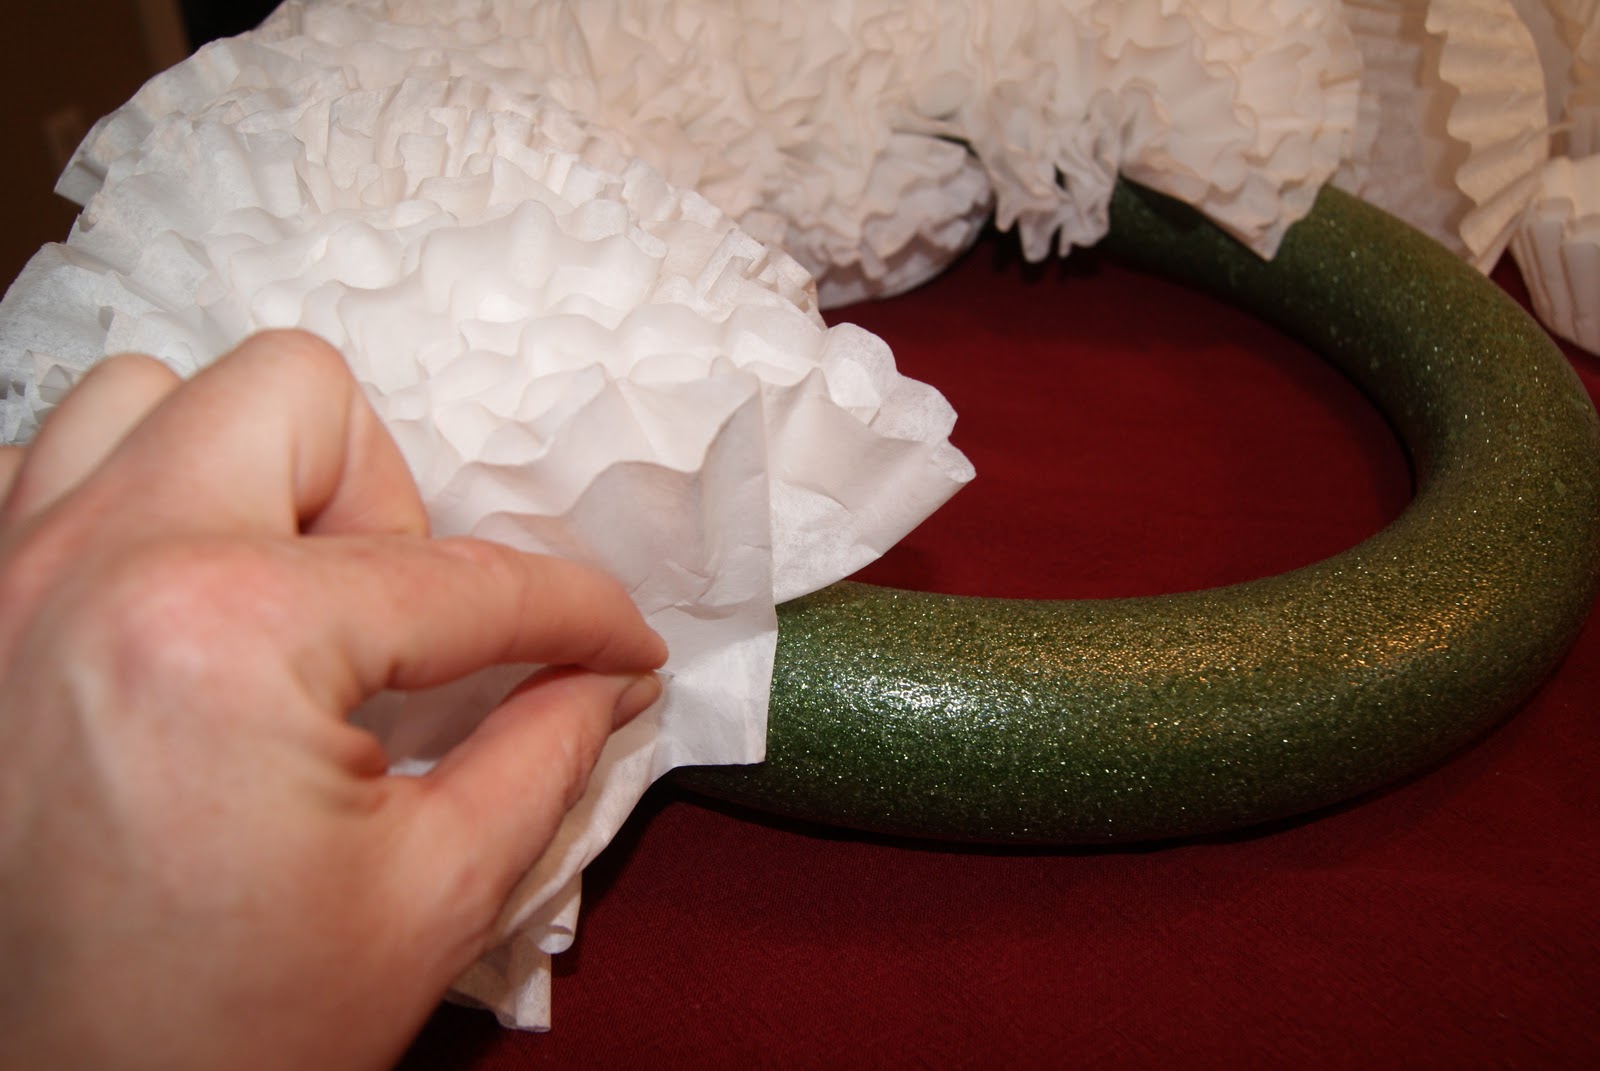
free wreath is made of coffee filters, straight pins, and a wreath form.
Will take approximately 30 minutes to make.


I had intended for my wreath to be entirely white,
but at the last minute decided to add a touch of red.
I cut apart a $2 Christmas berry branch from my local craft store.

The Red Nosed Reindeer


For most Rudolph has been a part of Christmas forever,
but he is a relatively new addition to Christmas tradition. His character and story
were created in 1939 by a copy writer (Robert L. May) for Montgomery Ward department store as a promotional gimmick in the form of a coloring book.

The song came later, in 1949 May's brother-in-law Johnny Marks (a song writer) adapted the original story into the popular "Roudolph the Red Nosed Reindeer" recorded by Gene Autry.


Below are a variety of projects in a wide range of difficulty dedicated
to honoring the antlered marketing marvel and his eight buddies.


Find the template and instructions for this 3-D ornament here.


Jeff and I made this Roudolph for Lola's room, using this template.
This is not our picture, it is from the origional post... Lola is sleeping in her room at the moment, when she wakes up I will update this picture to ours. 
It was a lot of fun and quite easy, we highly recommend trying this one.


Find the tutorial and template for this pop up card here.


See the video tutorial for origami reindeer here.


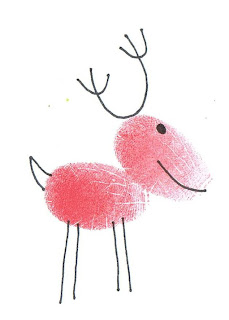
Thumbprint reindeer are perfect for toddlers and babies.


Could these peanuts be cuter?


Get excited for Santa at breakfast time with Rudolph pancakes.


These reindeer cookies are so sweet...YUMM!


Christmas Tree Skirt


My mom was going to a tree trimming party and invited Lola to go with her,
which was awesome because I knew she would have tons of fun, BUT she didn't have
anything festive to wear. I hadn't gotten her Christmas dress yet, and really didn't want
to spend a ton of money on something that I figured she would only wear once.
Another problem is that her new shoes haven't arrived yet, and so whatever
she wears will have to go with her pink converse sneakers.


Later that night, I was in Walmart and spotted this velvety $2 kitchen towel with adorable stylized Christmas trees that just happened to be in the perfect color palette. IDEA...I would make Lola a skirt out of this $2 towel, she would be completely festive, and I don't have to be sad about her only wearing something once.


Lola and my mom both had a blast at the Trim the Tree Party, 
so much so that Lola slept in until 9 the next morning! 
...not sure how late mom slept, :O)


Wrapping It Up


I love making gift wrap fun and beautiful, and love it even more  when
I am able to re-purpose materials that would otherwise be waste. 

Above is a grouping of Chirstmas gifts that Lola will find under the tree on the 25th.
She  loves the snowmen decorations, dolls, and ornaments so much that I had wrap some of her gifts in the form of a snowman reusing birthday paper inside out, felt from her Halloween costume, and craft paper left over from her birthday projects that I will finally get around to posting her birthday after the holidays.

I can't wait to see her adorable little face on Christmas morning!


Below are several wrapping ideas from around the web to inspire you this gift giving season.


A tutorial on how to make this bow can be found here.
I love that this is done with newspaper, but the possibilities are endless with mixing and matching colorful papers.


I love the simplicity of this wrapping.
It's basic, yet thoughtful with a personalized note printed on the re-purposed bag.

This is among my favorites this year.
I don't know a child, or adult that wouldn't be overcome with joy when they were given this sweet little reindeer filled with cookies or presents. You can find the tutorial here.


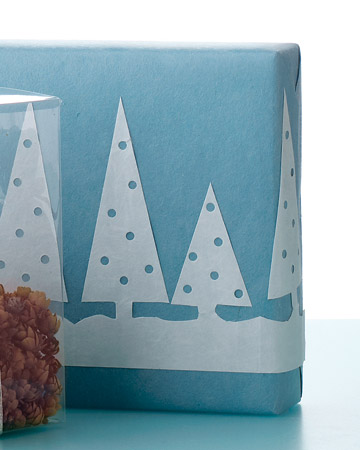
This is a fantastic project that even very little ones can help you with by allowing them to hole punch paper (bonus motor skill activity) either before or after you cut out the silhouette.
This template can be found here, but you could get creative and design you own.


This is such a simple, yet elegant wrapping.
What I love most is that when all the gifts have been unwrapped, the photograph remains
as a keepsake from a favorite photographer.


I love when gift tags are functional and fun.
This elf craft tutorial is one that can be easily done by children to attach to gifts.
OR you could assign a color to each child and attach elves to gifts from Santa to avoid any suspicion due to recognizable handwriting.
This could also be a tradition, of Santa sending an ornament via a gift tag for each child to add to the tree next year.


This look and many others can be achieved with these peel offs.


Keep in mind that most of these examples can be recreated by re-purposing 
materials that you already have saving you a little cash, and minding your carbon footprint.